
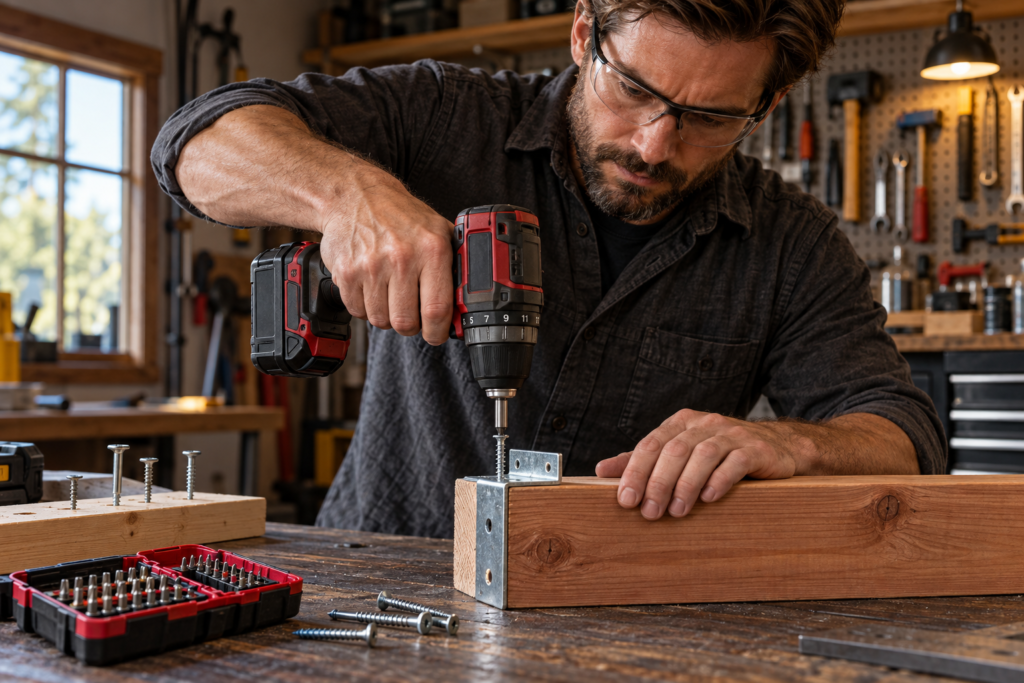
Cordless drill torque settings are one of those features that seem self-explanatory right up until a screw head gets chewed up, a cabinet hinge sinks too deep, or a drywall anchor turns into a small excavation project.
The numbered collar behind the chuck gives you more control while driving screws. Used properly, it limits the turning force applied once the screw reaches the desired depth. Used casually—or ignored altogether—it can turn a five-minute repair into a trip for filler, replacement screws, and a little personal reflection.
The goal is not to use as much power as the drill can produce. It is to apply enough force to seat the screw cleanly without damaging the fastener or the material around it.
What the Torque Collar Actually Does
The numbered ring on many cordless drill/drivers is an adjustable clutch. It controls how much turning force, or torque, the drill applies before the clutch slips.
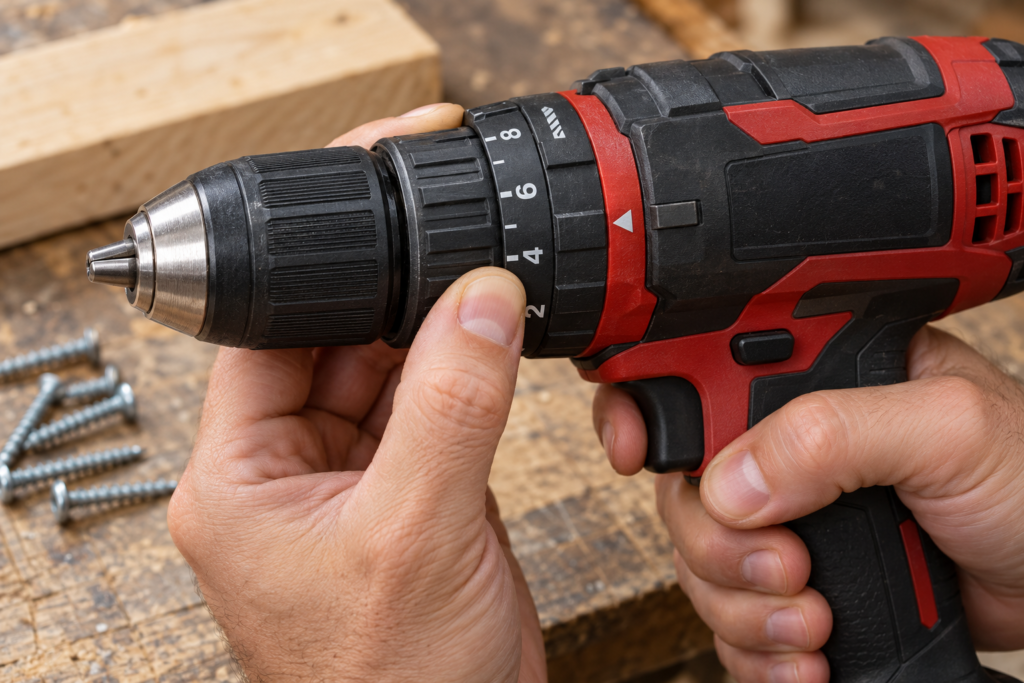
When the clutch slips, the motor may continue running and you’ll hear a ratcheting or clicking sound, but the bit no longer drives the screw with full force. That helps keep the drill from burying the screw deeper after it has seated.
Lower numbered settings allow the clutch to slip sooner. Higher numbered settings let the drill apply more force before it slips. On a typical drill/driver, that makes the collar useful for jobs such as:
- Installing cabinet hardware
- Driving screws into softwood
- Assembling furniture
- Fastening hinges, brackets, and utility hooks
- Working near finished surfaces where an overdriven screw would be a headache
- Securing temporary repairs without crushing the material underneath
The collar is not a magic anti-damage switch. A screw can still strip, snap, sit crooked, or damage a workpiece. Bit fit, screw condition, driving angle, and material all matter. But the clutch gives you a much better chance of stopping at the right moment than running the drill at full force and hoping for the best.
Why the Numbers Are Not a Universal Torque Chart
Here is the part that trips people up: setting 8 on one drill is not necessarily the same as setting 8 on another drill.
Manufacturers use different clutch designs, numbers of settings, motors, and gearboxes. A DEWALT manual, for example, describes settings 1 through 15 as torque ranges, with higher numbers delivering more torque. Other drill/drivers may have 20 or more clutch settings. Battery charge can also affect how a tool behaves under load.
So there is no reliable all-purpose chart that says:
- Setting 4 for cabinet screws
- Setting 8 for drywall
- Setting 12 for deck boards
That kind of chart looks helpful until you switch drills, change screw length, move from pine to hardwood, or discover the “scrap lumber” in your garage is apparently made from a retired bridge.
The useful rule is simpler: higher numbers mean a higher clutch threshold on your specific drill. The exact number is less important than the result you get in the material in front of you.
DEWALT’s screwdriving guidance recommends starting at a low torque setting, testing the screw in scrap material or an inconspicuous area, and increasing the setting gradually until the screw reaches the desired depth. That approach is slower by about 30 seconds and faster by about one ruined cabinet door. See the manufacturer’s screwdriving instructions here.
A Simple Way to Dial In the Right Setting
You do not need to memorize settings by material. You need a repeatable process.
Place the drill in its screwdriving mode, which commonly uses the numbered clutch settings rather than the drill-bit icon. Controls differ by model, so check the manual if the selector is unclear. Choose a relatively low setting, then drive a test screw into a scrap piece of the same material or an out-of-the-way spot that will not be visible.
Watch what happens.
If the clutch slips before the screw is seated, increase the setting one step and try again. Keep moving upward until the screw reaches the depth you want without the drill continuing to drive it too aggressively.
For most basic fastening, the process looks like this:
- Start low.
- Drive a test screw.
- Raise the setting one number at a time if the screw stops too early.
- Stop increasing once the screw seats properly.
- Keep an eye on the first few fasteners even after the setting feels right.
The proper depth depends on the job. A hinge screw may need to sit snug and flush without pulling the hinge into the wood. A screw holding a utility bracket may need to sit firmly against the bracket without deforming it. A drywall screw requires careful depth control because driving it too far can tear the paper face.
If you are working with a material that is easy to damage—thin plastic, particleboard, soft pine, laminate, or a painted surface—begin lower than you think you need. You can always add torque. You cannot un-crush a particleboard cabinet side.
Gear Selection Matters Too
Many cordless drill/drivers have a two-speed gearbox in addition to the numbered clutch collar. Low speed is generally the better starting point for driving screws because the slower rotation gives you more control as the screw seats.
High speed is often more useful for drilling smaller holes or handling tasks where speed matters more than careful screw seating. That does not mean high speed is forbidden for screws. It just leaves less room for correction when the screw suddenly bites and drives home.
For delicate hardware, long screws, or unfamiliar material, low gear and a modest clutch setting are sensible places to begin. Let the tool work steadily instead of mashing the trigger like you are trying to win an argument with a fence post.
Drill Mode and Hammer Mode Are Different
The drill-bit icon and hammer icon are not simply stronger torque settings.
On many drill/drivers, selecting drill mode or hammer-drill mode bypasses the adjustable clutch. In other words, the tool may no longer slip at your chosen numbered setting. DEWALT specifically warns that some tools “will not clutch” in those modes and may stall, overload, or twist suddenly if the bit binds. Its mode-selection guidance is worth checking before using an unfamiliar drill.
Use drill mode when drilling holes, not when you want controlled screwdriving. Use hammer mode only for masonry applications your drill and bit are designed to handle. It is not a “make this screw go in no matter what” setting.
Before driving screws, take a moment to check which mode the drill used last. Driving in drill mode makes it easier to overdrive the fastener or damage the material.
What About an Impact Driver?
An impact driver is not simply a cordless drill set to maximum torque. Most impact drivers do not use the same numbered adjustable clutch found on a drill/driver. They apply rotational impacts as resistance increases, making them useful for longer fasteners and tougher driving jobs—but easier to overdo on delicate hardware or finished materials.
If precise screw depth matters, a drill/driver with an adjustable clutch is often the more controlled choice.
That also removes the unnecessary second reference to storm repairs while giving the impact driver explanation the prominence it deserves.
Common Torque-Setting Mistakes
The most common mistake is starting at the highest setting. It feels efficient, but it gives up the control the clutch was designed to provide. Maximum torque is useful when the job truly requires it. It is not the default setting for every screw in the house.
Another mistake is copying settings from a friend’s drill, a video, or a chart online. That drill may have a different clutch range, battery condition, bit type, screw, material, or gear setting. The number on the collar is a reference point, not a universal language.
It also helps to avoid testing on the finished face of the project. If you are mounting a rack inside a pantry, building a storage box, or replacing a damaged piece of trim, test in a hidden area or on an offcut first. That one test screw tells you far more than a confident guess.
Finally, do not confuse a drill’s advertised maximum torque with the torque settings on its clutch collar. Tool makers may list maximum drill-mode torque separately from the lower, adjustable clutch range intended for screwdriving. Milwaukee documentation, for example, lists clutch ranges separately from higher drill-mode torque figures. Those are different measurements for different uses.
Better Screwdriving Starts Before You Pull the Trigger
Torque settings help, but the rest of the setup still matters.
Use a bit that fits the screw recess securely. Hold the drill straight and in line with the screw. Start slowly enough that the bit stays seated. If the screw meets heavy resistance, stop and assess the situation rather than simply turning the collar to maximum.
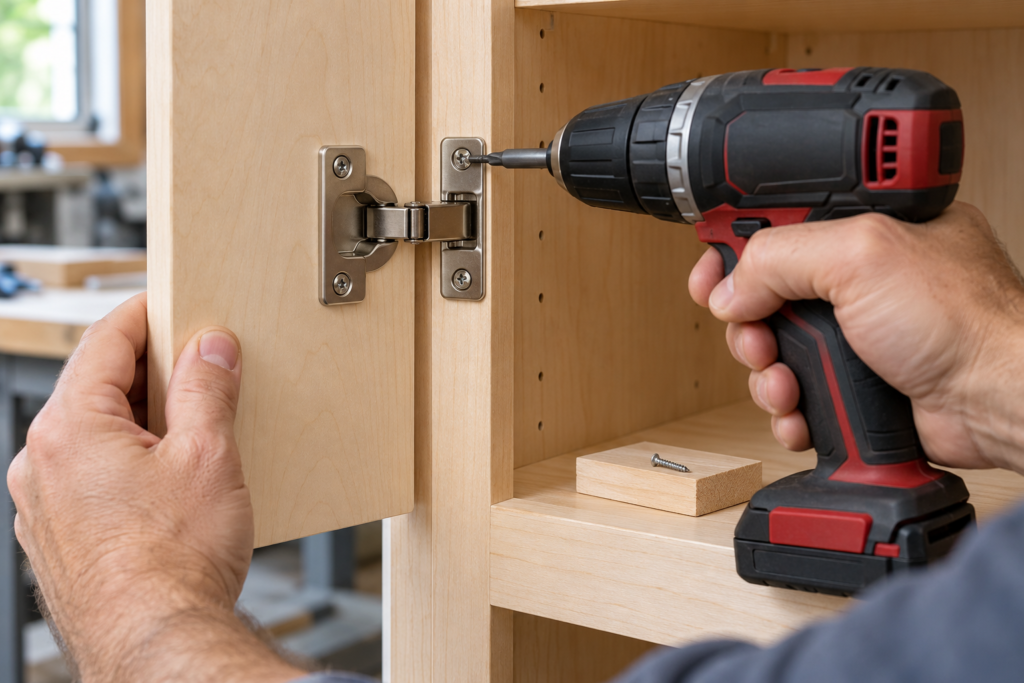
A pilot hole may be appropriate when you are fastening near the edge of wood, using a larger screw, or working in dense material. The drill cannot solve every fastening problem with brute force, and forcing a screw can split wood or leave you with a damaged fastener.
For repeated work, such as assembling shelves or installing multiple brackets, test again if you switch materials, screw sizes, or battery packs. A setting that works beautifully in pine may be wrong for hardwood, thin sheet metal, or a lightweight plastic accessory.
A well-charged battery also helps the drill behave consistently under load. If performance begins to drop, recharge or replace the battery according to the manufacturer’s instructions rather than compensating by immediately raising the clutch setting.
Use the Tool Safely When a Job Gets Stubborn
A drill can twist hard when a bit binds, especially while drilling larger holes or using a hole saw. That sudden kickback can injure a wrist, elbow, or shoulder. OSHA advises using appropriate kickback-control features where applicable, maintaining sharp bits, avoiding excessive force, and applying even pressure while drilling. Its power-tool guidance covers these basic precautions.
A few habits are worth keeping every time:
- Wear eye protection when drilling or driving fasteners.
- Brace the tool securely and keep a balanced stance.
- Do not force a bit that has stopped cutting effectively.
- Turn off the tool and remove the battery before changing bits, installing accessories, or making adjustments, as directed by your tool’s manual.
- Keep your hands clear of the rotating bit and the fastener’s path.
- Stop if the tool begins binding, smoking, overheating, or behaving differently than normal.
The clutch can reduce overdriving during screw work, but it is not a substitute for paying attention. No setting can compensate for a damaged bit, a bad angle, an unsuitable fastener, or a drill being asked to do something it was never designed to do.
Final Thoughts
Cordless drill torque settings become much easier to use once you stop treating the numbers as universal answers. They let you match the drill’s driving force to the screw, material, and finish the job requires.
Start low, test first, and raise the setting only as needed. That small habit can protect materials, save fasteners, and make a basic drill/driver far more useful when a repair needs to be done right the first time.