
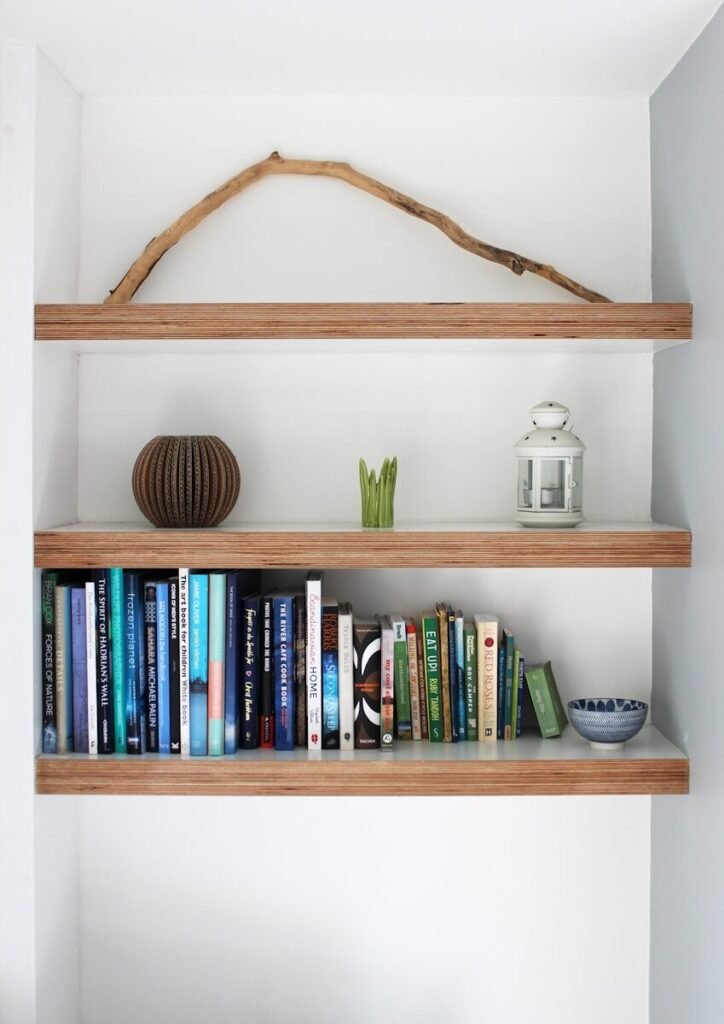
The ability to build floating shelves that look professional is a rewarding DIY project that adds both style and function to any room. Floating shelves create a clean, modern aesthetic by appearing to “float” on the wall without visible brackets or supports. This guide will walk through the practical steps to build sturdy, attractive floating shelves that can hold your favorite décor, books, or kitchen essentials.
Anyone can tackle this project with the right tools, careful planning, and straightforward instructions. Whether upgrading a living room, bathroom, or home office, floating shelves maximize space and provide a customized look. The key is focusing on precise measurements, solid anchoring, and finishing techniques to achieve a seamless, professional appearance.
Quick Facts
- Difficulty: Intermediate – requires basic carpentry and wall mounting skills
- Time: 3 to 5 hours including drying time for finishes
- Cost: $40 to $100 depending on materials and size
- Best For: Enhancing storage and display space with a modern design
Project Overview
This project involves constructing a floating shelf by building a sturdy internal bracket attached securely to the wall, then sliding a hollow shelf box over it. The design hides all hardware, giving the shelf a clean, minimalist look. The finished shelves can be customized in length, depth, and finish to suit any room or décor style.
Floating shelves are especially useful in small spaces where floor-standing furniture is impractical. They free up floor space while providing a solid surface for storage or decoration. Properly installed floating shelves balance strength and style, allowing them to hold heavy books or plants without sagging or wobbling.
Tools Needed
- Drill and Drill Bits: For making pilot holes and driving screws securely into studs or anchors.
- Stud Finder: To locate wall studs for strong mounting points.
- Level: Ensures shelves are perfectly horizontal and visually balanced.
- Measuring Tape: For accurate measurement of shelf dimensions and placement.
- Saw (Circular or Miter): To cut wood to the exact lengths needed.
- Screwdriver: For tightening screws during assembly and installation.
- Sander or Sandpaper: To smooth edges and surfaces before finishing.
- Clamps: To hold pieces together securely during gluing or screwing.
Materials Needed
- Wood Boards (e.g., pine, oak, or plywood): Main material for the shelf and internal bracket.
- Wood Screws: To assemble the shelf and attach the bracket securely to the wall.
- Wood Glue: Strengthens joints between wood pieces.
- Wall Anchors (if no studs): Provide secure mounting in drywall when studs aren’t available.
- Wood Filler: To fill screw holes and imperfections before finishing.
- Paint or Stain: For finishing the shelves to match your décor.
- Clear Polyurethane (optional): Protects the finish and adds durability.
Before You Begin
Start by carefully planning the size and placement of your floating shelves. Measure the wall space and decide on the shelf dimensions that will fit well without overcrowding. Mark stud locations with a stud finder—mounting directly into studs provides the strongest support. If studs are not available where you want the shelves, prepare to use heavy-duty wall anchors rated for the intended weight.
Set up your workspace with good lighting and a flat surface for cutting and assembling the shelves. Wear safety glasses when cutting and sanding wood. Double-check all measurements before cutting to avoid wasted materials. Having everything prepped will make the assembly process smoother and safer.
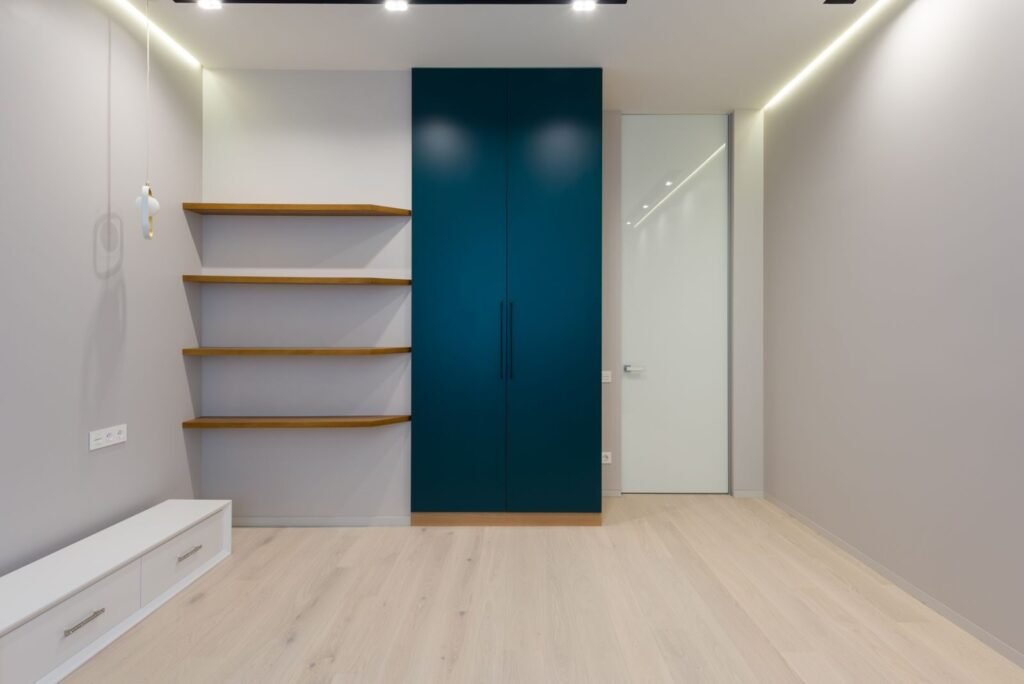
How to Complete the Project
Step 1: Measure and Cut Wood Pieces
Measure and mark your wood boards according to your planned shelf length and depth. Cut one long piece for the front of the shelf, two shorter pieces for the sides, and a back piece to form the hollow interior. Also, cut pieces for the internal bracket that will attach to the wall. Take your time to ensure straight, clean cuts.
Step 2: Assemble the Shelf Box
Start by attaching the side pieces to the back piece using wood glue and screws, forming a U-shaped frame. Then attach the front board to complete the hollow shelf box. Use clamps to hold pieces in place while screwing and gluing. Make sure all corners are square and flush for a neat appearance.
Step 3: Build the Internal Wall Bracket
Cut a sturdy bracket from a piece of wood that will fit inside the shelf box but extend into the wall studs for support. This bracket often takes the shape of a flat board with a long, narrow arm. Drill pilot holes and attach it securely to the wall where you want your shelf.
Step 4: Locate and Mark Studs
Use your stud finder to locate studs behind the wall and mark their positions. Confirm these marks with a small test drill. Accurate stud placement is critical to ensure your shelf will hold weight safely without pulling out of the wall.
Step 5: Attach the Bracket to the Wall
Secure the internal bracket to the wall studs using long screws. Use a level to check that the bracket is perfectly horizontal before tightening. If you cannot find studs, install heavy-duty wall anchors rated for shelf weight at the bracket’s screw points.
Step 6: Sand and Finish the Shelf
Before mounting, sand all surfaces and edges of the shelf box until smooth. Fill any screw holes or imperfections with wood filler, then sand again once dry. Apply paint, stain, or clear finish according to your preference. Allow sufficient drying time between coats.
Step 7: Mount the Shelf on the Bracket
Carefully slide the hollow shelf box over the wall bracket until it fits snugly. The shelf should completely hide the bracket. Check for levelness again after mounting. If necessary, add small shims or adjust screws to ensure the shelf sits flat and stable.
Step 8: Secure the Shelf (Optional)
For extra stability, drill small pilot holes through the bottom or sides of the shelf into the internal bracket, then insert finishing screws. Fill these holes with wood filler and touch up the finish. This step is optional but recommended for heavier loads.
Step 9: Final Inspection and Styling
Inspect the shelf for any rough edges or uneven finish. Clean any dust or residue. Once satisfied, style the shelf with decorative items, books, or plants. Avoid overloading the shelf beyond its weight capacity to maintain safety and longevity.
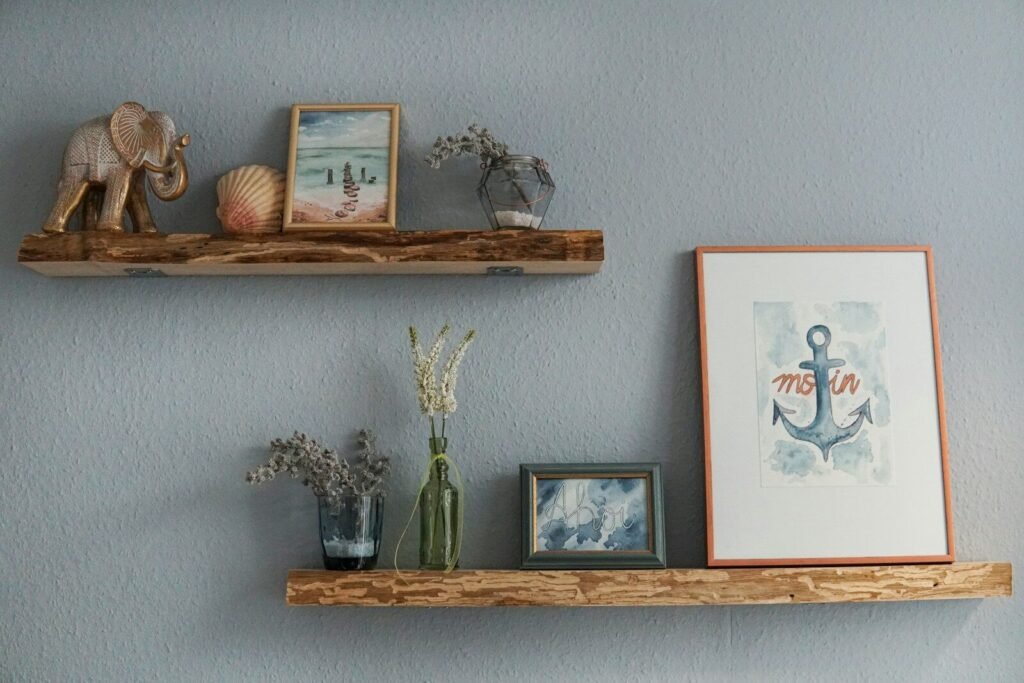
Common Mistakes to Avoid
- Using drywall anchors not rated for the load, leading to shelf failure.
- Failing to locate studs or use sufficient anchors for support.
- Cutting wood pieces inaccurately, resulting in gaps or uneven shelves.
- Skipping sanding or finishing steps, which affects appearance and durability.
- Mounting the bracket out of level, causing the shelf to tilt.
- Overloading the shelf beyond the strength of the bracket and wall anchors.
Final Thoughts
Creating floating shelves that look professional is perfectly achievable with careful planning and attention to detail. These shelves offer a stylish way to enhance your space while providing functional storage without bulky supports. By following the steps and avoiding common errors, anyone can build strong, clean-looking floating shelves.
The project not only improves your home’s organization but also builds confidence in basic woodworking skills. Once completed, these shelves can be customized endlessly with different finishes and sizes to suit your evolving décor needs. With patience and precision, floating shelves become a standout feature that’s both practical and visually appealing.
Frequently Asked Questions
How much weight can floating shelves hold?
Weight capacity depends on the bracket design, wall type, and mounting hardware, but properly installed shelves can often hold 20 to 50 pounds or more each.
Can floating shelves be installed on drywall without studs?
Yes, but only with heavy-duty wall anchors specifically rated for shelf loads. Stud mounting is always more secure.
What type of wood is best for floating shelves?
Hardwoods like oak or maple are durable and attractive, but plywood or pine can also work well with proper finishing.
How do you hide the mounting hardware on floating shelves?
By constructing a hollow shelf box that slides over an internal wall-mounted bracket, the hardware remains completely concealed for a clean look.