
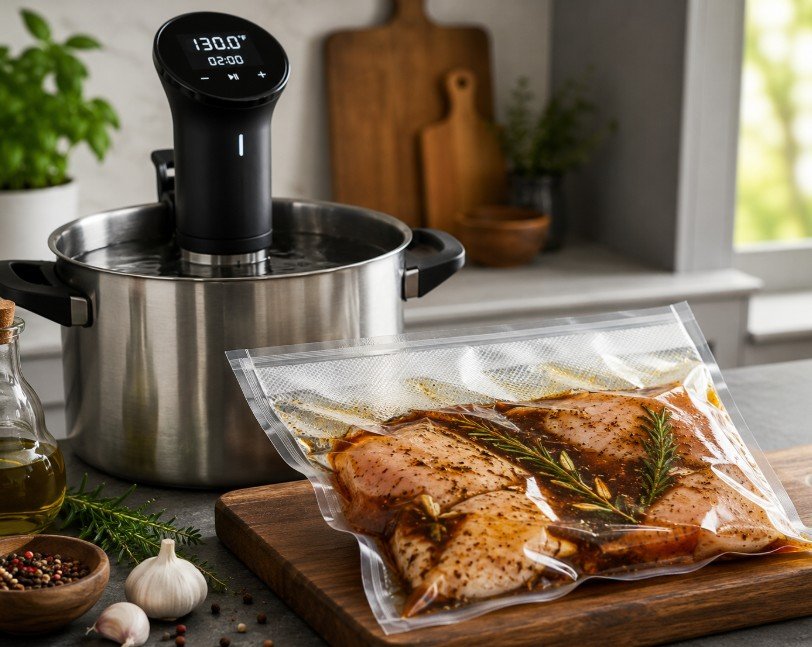
Using food saver bags to marinate and cook has become a popular technique for home cooks and culinary enthusiasts alike. These airtight, durable bags not only lock in freshness but also enhance your ingredients’ flavors by allowing marinades to penetrate more effectively. Mastering the use of food saver bags can elevate your cooking process, making it faster, cleaner, and more flavorful. This article explores practical ways to use food saver bags for marinating and cooking, offering clear examples and actionable tips to help anyone cook like a pro.
Understanding Food Saver Bags and Their Benefits
Food saver bags are specially designed plastic bags that can be sealed airtight, often using vacuum sealing devices. The absence of air inside these bags prevents oxidation and slows bacterial growth, thereby extending the shelf life of food. When it comes to marinating and cooking, these bags provide several advantages:
- Enhanced Flavor Absorption: The vacuum sealing process removes air, allowing marinades to make better contact with the food’s surface, leading to more intense and quicker flavor infusion.
- Reduced Mess: Marinating in a sealed bag reduces the risk of spills or leaks compared to traditional bowls or containers.
- Efficient Storage: These bags take up less space in the refrigerator or freezer, making it easier to organize ingredients.
- Improved Cooking Techniques: Food saver bags are ideal for sous vide cooking, where temperature control and airtight sealing are crucial for achieving restaurant-quality results at home.
Understanding these benefits helps home cooks appreciate why food saver bags have become a staple in modern kitchens.
How to Marinate Using Food Saver Bags
Marinating with food saver bags is straightforward but requires attention to detail to maximize results. Here’s a step-by-step guide:
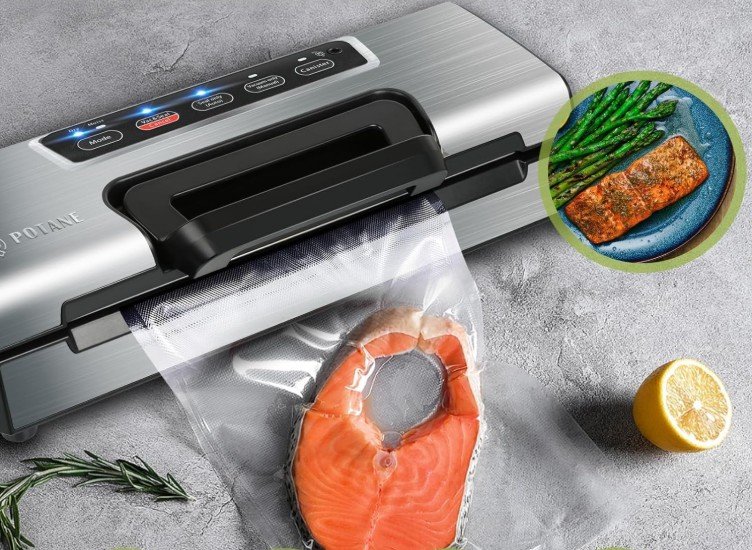
- Choose the Right Bag: Select a BPA-free food saver bag rated for the type of food you are marinating (meat, fish, or vegetables). Ensure it’s large enough to hold both the food and the marinade comfortably.
- Prepare the Marinade: Combine your marinade ingredients in a bowl. Popular marinades often include oil, an acid (such as vinegar or citrus juice), herbs, spices, and sometimes a sweetener like honey or brown sugar.
- Add Food and Marinade to Bag: Place the food in the bag first, then pour the marinade over it. Don’t overfill the bag to ensure proper sealing.
- Seal the Bag: Use a vacuum sealer to remove air and seal the bag tightly. If a vacuum sealer isn’t available, squeeze out as much air as possible before closing a resealable zipper bag.
- Refrigerate and Marinate: For best results, refrigerate the sealed bag for the recommended marinating time—typically 30 minutes to 24 hours depending on the ingredient and marinade strength.
~Shop for Food Saver Vacuum Sealer on Amazon
Example: Marinating Chicken Breasts
To marinate chicken breasts using a food saver bag, combine olive oil, lemon juice, minced garlic, rosemary, salt, and pepper in a small bowl. Place the chicken breasts in the bag, pour the marinade over them, then vacuum seal. Refrigerate for at least 2 hours or overnight for deeper flavor.
Cooking with Food Saver Bags: Sous Vide and Beyond
One of the most popular uses of food saver bags is for sous vide cooking, a method where food is cooked slowly in a water bath at a precise temperature. This technique requires airtight bags to prevent water from entering and to maintain even cooking.
- Sous Vide Cooking: Vacuum-sealed bags keep the food and marinade intact, allowing even heat distribution and moisture retention. This ensures tender, perfectly cooked dishes without overcooking.
- Steaming and Simmering: Food saver bags can also be used for gentle steaming or simmering. When sealed properly, bags can be placed in hot water to cook vegetables or delicate proteins.
- Freezing Marinated Foods: Sealed bags are excellent for freezing marinated foods, preserving flavor and texture until ready to cook. Thawing in the fridge maintains marinade absorption.
Tips for Cooking with Food Saver Bags
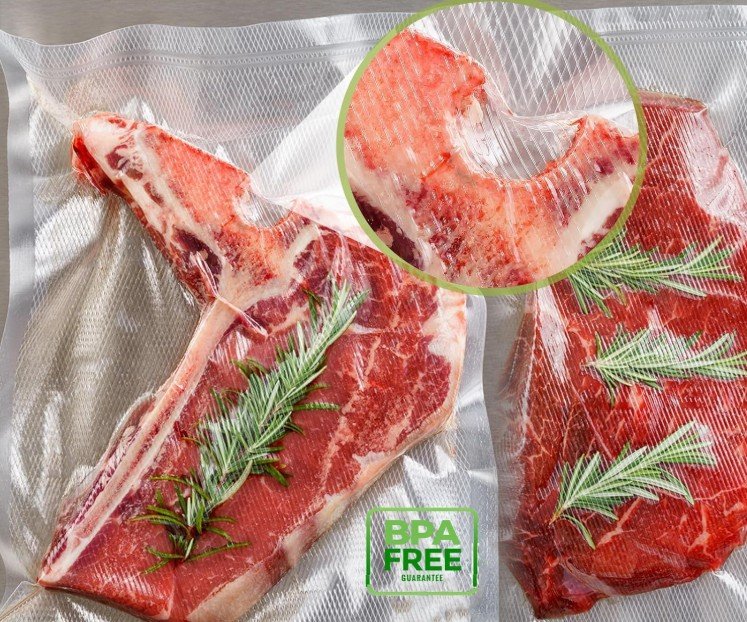
- Use Bags Rated for Cooking: Not all food saver bags are safe for cooking. Always check that the bags are BPA-free and designed to withstand cooking temperatures.
- Avoid Overfilling: Leave some space in the bag to allow for expansion during cooking.
- Monitor Temperature: When sous vide cooking, use a thermometer or sous vide device to maintain a consistent water temperature.
- Seal Properly: Double-check the seal to prevent leaks or water ingress.
~Shop for BPA-free Food Saver Bags on Amazon
Cleaning and Reusing Food Saver Bags Safely
While many food saver bags are designed for single use, some can be cleaned and reused depending on the manufacturer’s instructions and the type of food cooked. Proper cleaning helps maintain food safety and prolongs the bag’s usability.
- Rinse Immediately: After use, rinse the bag thoroughly with warm soapy water to remove food residues.
- Dry Completely: Air dry the bag upside down on a rack to prevent moisture buildup.
- Inspect for Damage: Check for any holes or weakened areas before reusing.
- Reserve Bags for Similar Foods: Avoid cross-contamination by using bags for similar food types, such as only for vegetables or only for raw meat.
For marinating and sous vide, fresh bags are often preferred to avoid flavor transfer and ensure food safety, but reusing bags for freezing or storage can be economical.
Practical Tips to Maximize Flavor and Efficiency
Using food saver bags effectively goes beyond sealing and cooking. Here are practical tips professional chefs and home cooks use to get the most out of this versatile kitchen tool:
- Cut Food into Even Pieces: Uniform cuts ensure even marinating and cooking.
- Massage the Bag: After sealing, gently massage the bag to distribute marinade evenly over the food’s surface.
- Rotate During Marinating: For longer marinating times, flip or turn the bag occasionally to expose all sides to the marinade.
- Label Bags: Mark the date and contents on the bag to track marinating or storage times.
- Combine with Dry Rubs: For some proteins, apply a dry rub before sealing in the bag with a small amount of oil to enhance texture and flavor.
Common Mistakes to Avoid
To cook like a pro using food saver bags, avoiding common pitfalls is essential:
- Overfilling the Bag: This can prevent proper sealing and increase the risk of leaks.
- Using the Wrong Bags: Non-food-safe or non-cooking-safe bags may melt or leach chemicals.
- Marinating Too Long: Acidic marinades can break down proteins excessively if left on for too long, resulting in a mushy texture.
- Sealing Wet Edges: Moisture on the sealing area can prevent a secure seal.
- Ignoring Food Safety: Always marinate in the refrigerator, never on the counter, to prevent bacterial growth.
Final Thoughts
Food saver bags have transformed the way many approach marinating and cooking, offering a convenient, efficient, and flavorful method for home kitchens. By locking in air and moisture, these bags allow marinades to penetrate deeply and cooking techniques like sous vide to produce consistent, restaurant-quality results. Whether preparing a quick weeknight meal or setting up ingredients ahead of time, using food saver bags can streamline the process and elevate the final dish.
The key to success lies in selecting the right bags, sealing them properly, and understanding how to pair them with marinades and cooking methods. With practice, anyone can harness the power of food saver bags to enhance flavor, improve texture, and reduce waste. For those looking to cook smarter and tastier, incorporating food saver bags into the kitchen routine is a practical and rewarding step forward.