
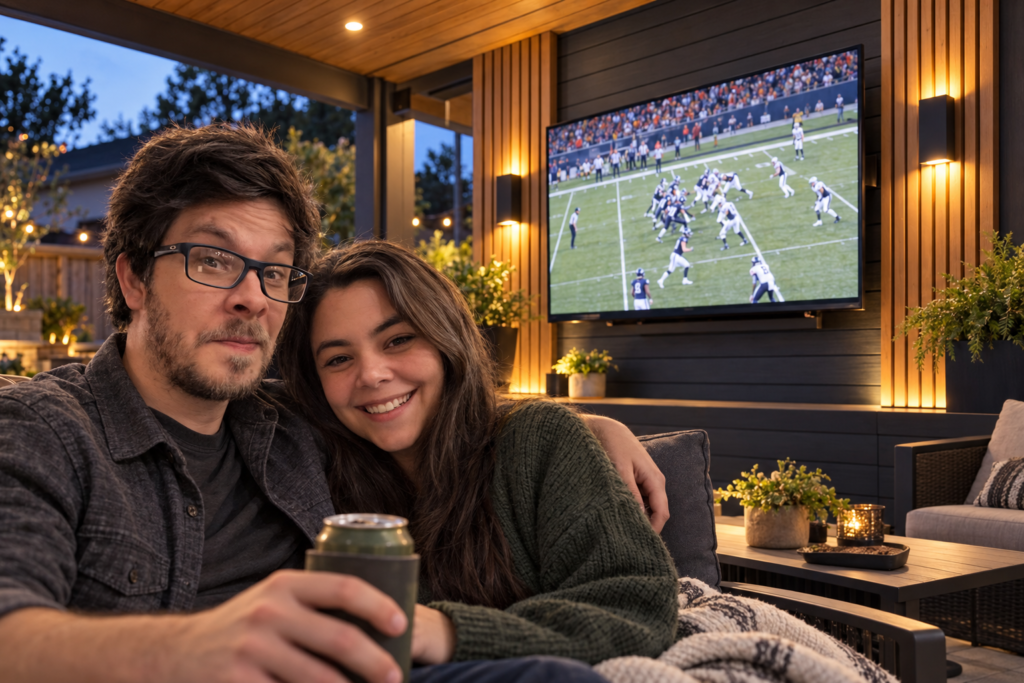
A weather-resistant outdoor TV wall gives your patio, deck, or covered porch a clean home for game day, movie night, and the sort of backyard gathering where nobody wants to balance a screen on a folding table. The smart version is not a giant sealed box built around an indoor television. It’s a weather-resistant, surface-mounted feature wall that supports an outdoor-rated TV, stands up to the elements, and leaves the TV enough breathing room to do its job.
This weekend project works best when you already have a structurally sound exterior wall and a code-compliant outdoor power source in the right area. Think of it as a mounting and finish project: build a handsome, weather-tough backdrop, attach the correct outdoor mount to solid structure, and manage cables without turning your wall into a tiny swamp.
Project Overview
A weather-resistant outdoor TV wall is usually a framed panel or section of decorative cladding installed over an existing exterior wall. The television mounts through the finish into studs, masonry, or another manufacturer-approved structural surface. The finished wall can hide visual clutter, create a focal point, and give the TV a more intentional home than “hung beside the grill because there was an outlet nearby.”
The weekend-friendly approach keeps electrical work and major exterior-wall modifications out of the plan. Use an outdoor-rated television and mount, preserve drainage and ventilation, and avoid building a tight enclosure around the screen. Some outdoor TV manufacturers specify shaded or partially shaded placement and clearance behind the TV for airflow. Follow the requirements in your television’s installation manual rather than borrowing measurements from another model.
Skill Level
This project is manageable if you’re comfortable measuring, finding framing, cutting exterior-rated sheet goods or trim, drilling pilot holes, and using a level. The difficulty changes quickly with your wall type: mounting to wood framing is different from mounting to masonry, and working around siding, stucco, or stone can complicate the finish.
If the plan requires a new outlet, hidden wiring inside a wall, or major waterproofing changes, bring in a qualified electrician or exterior contractor rather than trying to make it a “learning experience” at 6:40 p.m. on Sunday.
Time Commitment
Layout, material shopping, cutting, and finish work will take the most time. So will waiting for paint, stain, sealant, or construction adhesive to dry according to the manufacturer’s instructions. If your wall needs cleaning, patching, or repairs before you begin, handle that first; a decorative TV wall is not a magic cape for rotten trim or loose siding.
The installation itself can move along nicely once the design is settled, but do not rush the mounting stage. Locating solid structure, checking level, and confirming TV clearances are the parts worth doing twice.
Budget Considerations
Your biggest cost variables are the outdoor-rated television, weather-resistant mount, wall-finish material, and whether the existing power and mounting structure are usable. An outdoor TV is not interchangeable with a standard indoor model plus a cover. Outdoor ratings and allowed exposure vary by product, so review the manufacturer’s guidance for your exact TV before choosing its location.
Wood-look composite boards, exterior trim boards, metal panels, and exterior-rated plywood can all create a good-looking wall, but they have different costs, cutting requirements, and maintenance needs. A simple painted panel often costs less and goes up faster than a full slat wall. Tools such as a drill, saw, level, stud finder, and clamps are reusable investments. Fasteners, sealant, paint, primer, flashing tape, and finish materials are consumables that should suit your wall system and local weather conditions.
Tools and Materials
Tools
- Tape measure and pencil: For laying out the wall, TV location, and mounting points before cutting anything.
- Level: A long level helps keep both the feature wall and TV mount from developing a slow, annoying lean.
- Stud finder or suitable masonry-locating tool: Use the right method for your wall type to identify structural mounting points.
- Drill/driver and drill bits: Needed for pilot holes, mounting hardware, and fastening the wall finish.
- Circular saw, miter saw, or jigsaw: Choose the saw that matches your selected panel or trim material.
- Clamps or temporary supports: Useful for holding panels and trim in position while fastening.
- Caulk gun: For applying exterior-rated sealant where the finish manufacturer recommends it.
- Safety glasses, hearing protection, and dust mask: Cutting and drilling exterior materials is not the moment to prove your eyes are replaceable.
- Ladder or stable work platform: Use one only if the TV height and wall layout require it.
Materials
- Outdoor-rated television: Select a model approved by its manufacturer for your intended exposure, temperature range, and location.
- Outdoor-rated TV wall mount: It must match the TV’s VESA mounting pattern, loaded weight, and installation requirements.
- Exterior-rated wall-finish material: Use a material suited to your design, such as exterior trim boards, composite cladding, metal panels, or properly finished exterior-rated plywood.
- Mounting backer or framing material, if needed: Use exterior-suitable lumber or another appropriate structural backer for the design.
- Corrosion-resistant fasteners: Choose screws and hardware rated for exterior use and compatible with the materials you are joining.
- Exterior primer and paint or stain: Use a finish appropriate for the selected wall material.
- Exterior-rated sealant: Apply it only where needed to finish joints or penetrations without blocking intended drainage paths.
- Cable-management components rated for outdoor use: These keep cords organized without stuffing connections into an unventilated cavity.
- Weatherproof outlet cover, if already part of the existing setup: Have a qualified professional evaluate the electrical installation if changes are needed.
Before You Begin
Choose the wall location based on the TV manufacturer’s instructions, not just the best view from the patio chair. Direct sun can reduce visibility and add heat, while a wall exposed to wind-driven rain may exceed what a particular TV is designed to handle. Samsung, for example, describes its Terrace TV as IP55 rated but intended for a partially shaded location. That does not make every outdoor TV suitable for every uncovered wall or climate, and IP55 does not mean the TV can be submerged.
Measure the television, mount, proposed feature-wall footprint, and viewing area. Confirm where the mount will attach to solid framing or a suitable masonry surface. Also verify that the television will have the required rear and side clearances. One Samsung outdoor-TV guide specifies at least 1.5 inches between the TV and wall and advises against recessed installation, but your model’s manual is the rulebook that counts.
Keep the television and wall assembly away from grills, smokers, fireplaces, patio heaters, and other sources of heat, grease, smoke, or flame. Follow the clearance requirements for both the television and the heat-producing appliance. A shaded wall is not a suitable TV location if the grill beside it spends every weekend coating the screen in smoke and hamburger enthusiasm.
Step-by-Step Instructions
Step 1: Choose the TV location and mark the viewing height
Hold a piece of cardboard cut to the TV’s approximate size against the wall, then step back to check sightlines from your usual seating area. Aim for a comfortable viewing height without placing the screen so low that it catches every splash, bump, or enthusiastic Labrador tail.
Mark the wall’s centerline and the proposed TV center. Check for glare at the time of day you expect to use the space most often. Shade matters more than people think; a beautiful screen is still hard to watch when it doubles as a mirror.
Step 2: Confirm structure, power, and TV requirements
Locate the studs or evaluate the masonry mounting surface before designing the finished panel. The TV mount must fasten into structure—not merely into decorative cladding, thin sheathing, or wishful thinking. Review the mount manual for approved fasteners, mounting patterns, and weight limits.
Confirm that the existing outdoor power arrangement is suitable for the location. Outdoor receptacles generally require GFCI protection, and receptacles in wet locations need weather-resistant construction and an enclosure that remains weatherproof while a plug is inserted—often called an in-use or extra-duty cover. Local requirements and the exact classification of the location may differ. If you need to add, move, or alter an exterior receptacle, hire a qualified electrician rather than running an extension cord through the wall.
Step 3: Design the wall so water and air can move
Keep the design surface-mounted and ventilated. A simple framed panel with trim or slats can look substantial without creating a sealed cavity around the TV. Avoid building a deep, tight recess unless the television and enclosure manufacturers specifically approve that installation.
Plan the wall finish so it does not trap water against existing siding or block drainage details. If your cladding system requires spacers, flashing, expansion gaps, or specific fastening patterns, follow its installation instructions. Exterior finishes live a harder life than the accent wall in your living room. They get sunburned, soaked, frozen, and blamed for everything.
Step 4: Cut and finish the wall components
Cut panels, trim, or slats after doing a dry layout on sawhorses or a clean work surface. Label pieces as you go, especially if the wall has a border pattern or varied board spacing. Pre-finishing boards before installation can make it easier to coat the edges and reduce touch-up work near the TV.
Apply primer, paint, stain, or sealer according to the product directions. Give the finish its required drying or curing time before installation. A rushed finish may look fine until the first damp morning reminds you that chemistry has opinions.
Step 5: Install the feature-wall framing or backer
Install any needed backer or framing into verified structural points. Keep the assembly flat, level, and compatible with the existing wall surface. Use corrosion-resistant fasteners, and avoid crushing or distorting siding materials.
If the TV mount will pass through the decorative finish, mark its future location now. You need enough solid structure behind those mounting points to support the loaded mount and television independently of the cosmetic cladding.
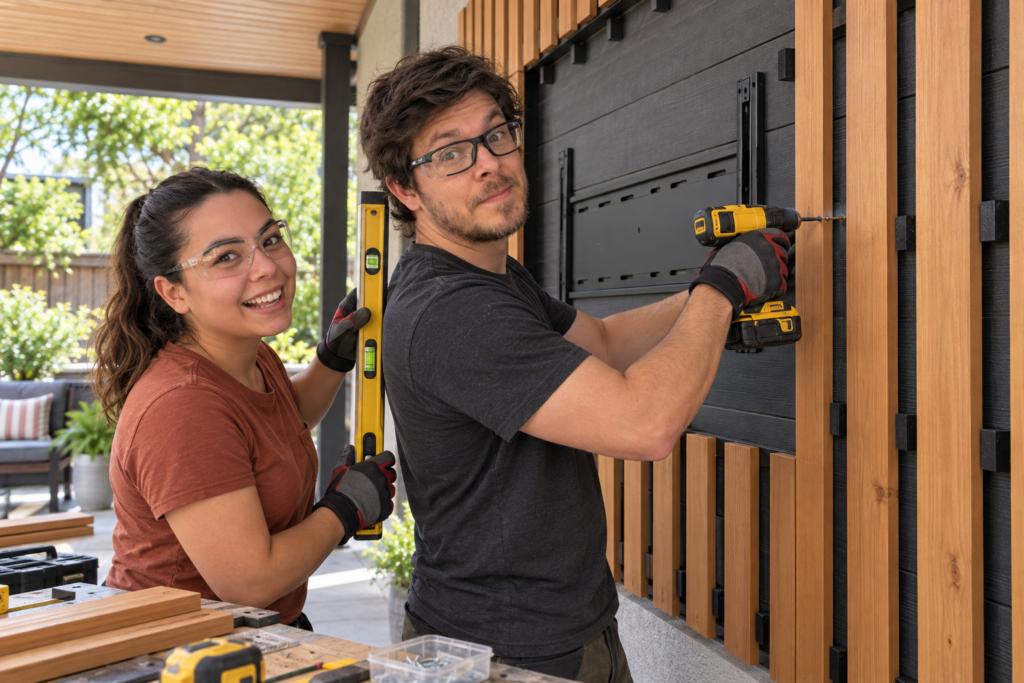
Step 6: Attach the exterior finish and trim
Fasten the finished panels, boards, or slats according to the material manufacturer’s spacing and fastening guidance. Check level regularly; minor errors become remarkably visible when rows of trim run behind a rectangular television.
Finish exposed edges with trim where appropriate, and use exterior sealant only at joints where the material system calls for it. Do not seal every gap indiscriminately. Some gaps allow drainage, movement, or ventilation.
Step 7: Install the outdoor-rated TV mount
Attach the mount to the structural wall using the hardware and procedure approved by the mount manufacturer. Match the mount to the TV’s VESA pattern and loaded weight. For example, Samsung lists both VESA compatibility and safe working load for its weather-resistant Terrace wall mount. Check the specifications for your exact TV and mount rather than relying on a universal hardware schedule.
If you choose a full-motion mount, confirm that both the mount and television are approved for the outdoor location and that the arm can be secured in its stored position. A large screen extended away from the wall gives wind more leverage. Follow the manufacturer’s wind, exposure, and storage instructions rather than leaving the television extended when it is not in use.
Before hanging the TV, recheck the level, fastener tightness, and clearance from the finished wall. Keep the TV surface-mounted unless its documentation explicitly permits another arrangement.
Step 8: Hang the TV and manage cables
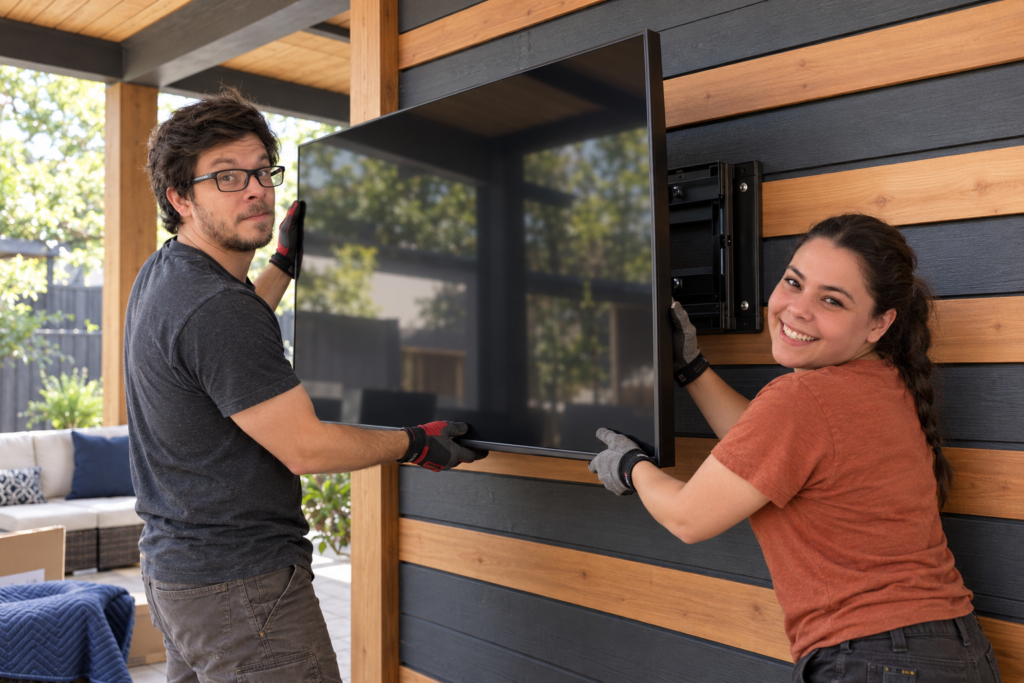
Use at least one capable helper to lift and hang the television, adding more people or lifting equipment when its size, weight, or manufacturer instructions require it. Route cables neatly with outdoor-suitable management components, leaving enough slack for service without creating a dangling nest underneath.
Power up the TV, test the remote and connected devices, and check that airflow around the unit remains unobstructed. If the setup feels crowded, fix it now. The wall should look intentional, not like it swallowed a tangle of cables and immediately regretted it.
Common Pitfalls
- Using an indoor TV outdoors: A cover does not automatically make an indoor television suitable for rain, humidity, temperature changes, or outdoor dust. Start with a TV rated for your planned installation.
- Mounting into decorative material only: Cladding is a finish, not a structural anchor. Fasten the mount into studs, masonry, or another approved structural substrate.
- Building a sealed TV box: Tight enclosures can trap heat and moisture. Follow the TV manufacturer’s ventilation and clearance requirements.
- Ignoring sunlight during layout: A wall can look perfect in morning shade and become impossible to watch in late-afternoon glare. Check the location at different times before committing.
- Treating exterior power as a casual add-on: New outdoor electrical work needs weather-appropriate components and may require professional installation or permits.
- Sealing every joint shut: Exterior assemblies often need drainage and movement space. Follow the chosen finish system’s instructions instead of caulking with heroic enthusiasm.
Project Wrap-Up
Once the TV is mounted and the finish has cured, you have an outdoor entertainment focal point that looks like part of the space instead of an afterthought. Inspect the wall after the first substantial rain, checking for loose trim, trapped water, cable movement, and finish areas that need a touch-up.
For seasonal maintenance, clear debris from around the wall, inspect fasteners and sealant, and follow the TV manufacturer’s cleaning and off-season guidance. Future upgrades could include outdoor speakers, better shade, or a media cabinet positioned away from the TV’s ventilation space.
Frequently Asked Questions
Can you use a regular indoor TV on an outdoor TV wall?
No. An indoor TV is not designed for outdoor moisture, temperature swings, dust, or exposure simply because you add a cover. Choose a television specifically rated for the intended outdoor location and follow its installation instructions.
Does an outdoor TV need to be in a covered area?
It depends on the specific TV and its rating. Some outdoor TVs are intended for partially shaded locations, while others have different exposure limits. Check your exact model’s manual before choosing the wall.
Can the TV mount attach directly to the decorative wall panel?
Not unless the panel assembly is specifically designed as a structural mounting surface. In most cases, the mount must fasten through the finish and into studs, masonry, or another approved structural support.
Should cables run inside the outdoor TV wall?
Only use a cable-routing method appropriate for outdoor conditions that does not interfere with ventilation, drainage, or electrical requirements. If the plan involves permanent power wiring inside the wall, consult a qualified electrician.