
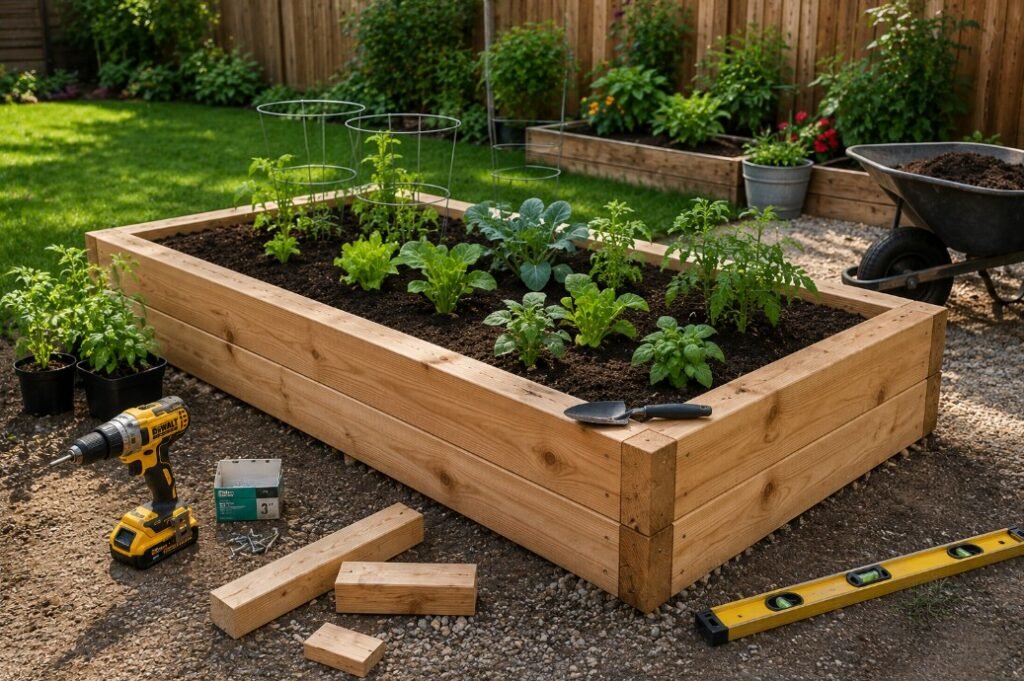
Building a raised garden bed is a practical way to create a dedicated, manageable space for growing vegetables, herbs, or flowers. It offers better soil control, improved drainage, and easier access, making gardening accessible to both beginners and seasoned green thumbs. This guide will walk through the essential steps needed to build a sturdy raised garden bed that fits any outdoor space.
Raised garden beds are popular among gardeners for their ability to maximize growing potential in limited spaces or poor soil conditions. Whether placed on a patio, in a backyard, or on uneven terrain, a well-built raised bed can boost plant health and simplify maintenance. Following straightforward instructions ensures a successful project that adds both function and beauty to your garden.
Quick Facts
- Difficulty: Beginner to intermediate – requires basic carpentry skills
- Time: 3 to 5 hours depending on size and preparation
- Cost: Moderate – materials vary with size and wood choice
- Best For: Gardeners seeking improved soil control and easier garden management
Project Overview
Constructing a raised garden bed involves assembling a framed box that holds quality soil above the ground level. This structure allows gardeners to bypass poor native soil, reduce weeds, and improve drainage. The elevated design also reduces bending and strain during planting and harvesting, making gardening more comfortable.
Once completed, a raised bed offers a clean, organized planting area that can be customized in size and shape to fit particular gardening needs. It can be filled with nutrient-rich soil tailored to specific plants, resulting in healthier growth and higher yields. Additionally, raised beds help extend the growing season by warming up faster in spring.
Tools Needed
- Measuring Tape: To measure wood pieces and lay out dimensions accurately.
- Saw: Handsaw or power saw to cut lumber to the desired lengths.
- Drill: For drilling pilot holes and driving screws securely.
- Screwdriver or Impact Driver: To fasten screws efficiently.
- Level: Ensures that the bed is perfectly horizontal for proper water drainage.
- Clamps: To hold pieces steady during assembly (optional but helpful).
- Safety Glasses: Protect eyes while cutting and drilling.
Materials Needed
- Lumber Boards: Typically cedar or pine boards, 2×6 or 2×8, for the sides of the bed.
- Wood Screws: Exterior-grade screws for securely assembling the frame.
- Landscape Fabric: Optional, to line the bottom and prevent weeds from growing up.
- Soil Mix: Quality garden soil or a blend of topsoil, compost, and organic matter to fill the bed.
- Corner Brackets or Stakes: Optional, for extra reinforcement at the corners or to anchor the bed.
Before You Begin
Planning is key to a successful raised garden bed project. Start by selecting a level, sunny spot with good drainage. Measure the available space and decide on the bed’s dimensions; a common size is 4 feet wide, allowing easy access from both sides without stepping inside. Ensure the length fits your yard and gardening plans.
Prepare your workspace by clearing debris and gathering tools and materials nearby. Safety is important—wear protective eyewear when cutting and drilling, and handle tools carefully. Double-check measurements before cutting lumber to avoid mistakes that can waste material and time.
How to Complete the Project
Step 1: Measure and Cut Lumber
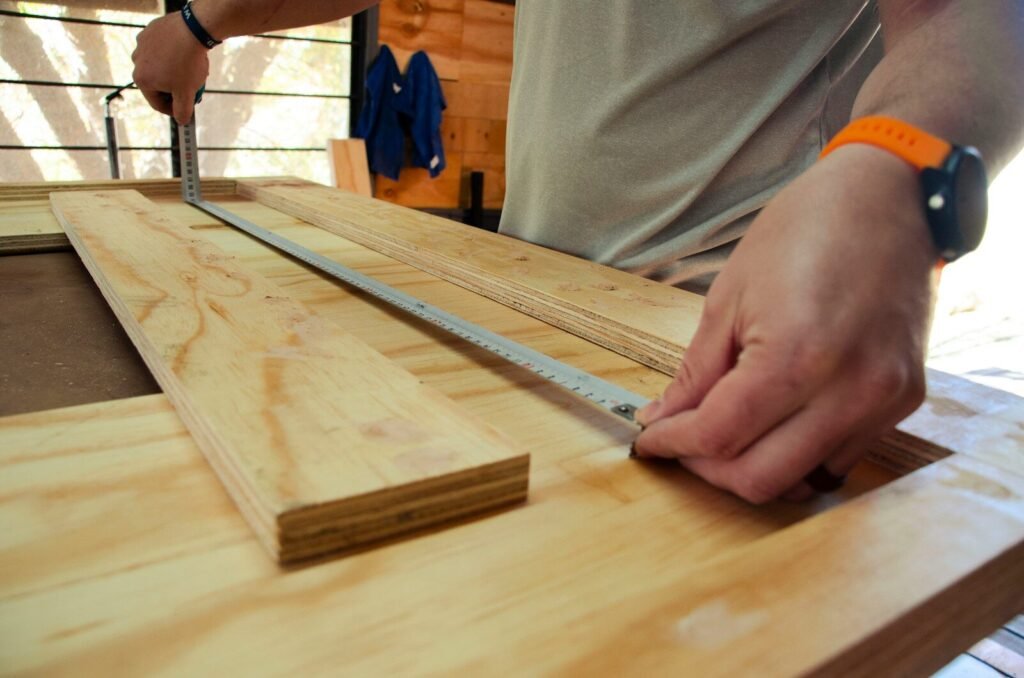
Measure the lumber according to your planned dimensions. Cut four boards for the sides—two for the length and two for the width. Accuracy here is essential to ensure the corners fit together cleanly. Use the saw carefully and wear safety glasses.
Step 2: Assemble the Frame
Lay the boards flat and arrange them into a rectangle or square. Pre-drill holes at the ends of the boards to prevent splitting. Use screws to attach the boards together at the corners, forming a sturdy frame. Clamps can help hold the boards in place during assembly.
Step 3: Check for Level and Adjust
Set the frame in its intended location and use a level to check that it sits evenly on the ground. Adjust the position by adding or removing soil underneath as needed to ensure proper drainage and plant health.
Step 4: Attach Corner Brackets or Stakes (Optional)
For extra durability, attach metal corner brackets to the inside corners of the frame or use wooden stakes on the outside to anchor the bed firmly. This step is especially recommended for taller beds or loose soil conditions.
Step 5: Prepare the Bed Base
If desired, lay landscape fabric inside the frame to act as a weed barrier. This helps prevent unwanted plants from growing up into your raised bed while allowing water to drain through.
Step 6: Fill with Soil
Fill the bed with a high-quality soil mix tailored to your plants’ needs. Avoid using native soil alone, as it may be compacted or lack nutrients. Fill evenly, then gently pat down to remove air pockets, but avoid over-compacting.
Step 7: Plant and Mulch
Once filled, the bed is ready for planting. Arrange seeds or seedlings according to spacing guidelines. Adding mulch on top can help retain moisture and reduce weeds, keeping your garden healthy and low-maintenance.
Common Mistakes to Avoid
- Using untreated or low-quality wood that can rot quickly.
- Skipping pre-drilling, which may cause the wood to split when driving screws.
- Placing the bed on uneven ground without leveling, leading to poor drainage.
- Overfilling with soil and compacting it too much, which can hinder root growth.
- Neglecting to consider sun exposure and access to water when choosing the bed location.
- Forgetting to account for space to walk around and access the bed comfortably.
Final Thoughts
Building a raised garden bed is a rewarding DIY project that transforms garden spaces into productive, manageable areas. By following clear steps and planning carefully, anyone can create a durable structure that supports healthy plants and simplifies gardening tasks. The ability to control soil quality and improve drainage makes raised beds a popular choice for both novice and experienced gardeners.
This project not only enhances the garden’s appearance but also encourages more frequent care and enjoyment of growing plants. With a solid foundation and proper preparation, a raised garden bed will provide years of fruitful gardening. Taking the time to do it right ensures a practical and satisfying outcome that brings fresh produce or beautiful blooms within easy reach.
Video: How to Build a Raised Garden Bed