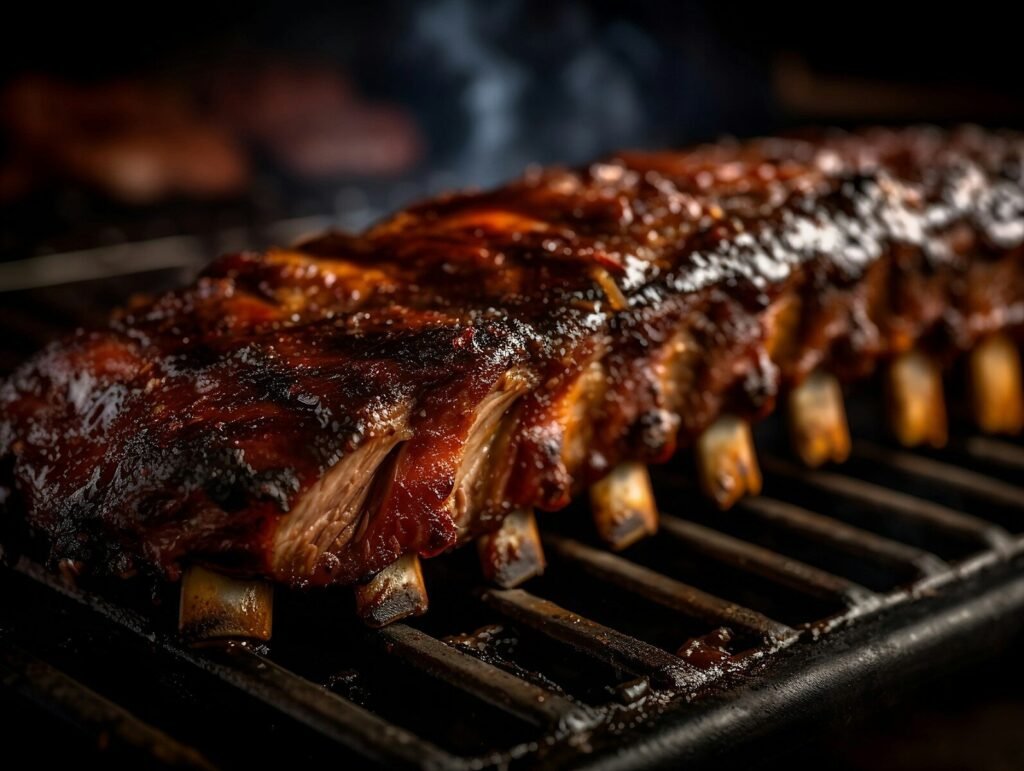
Learning how to smoke ribs like a backyard pitmaster is a rewarding skill that transforms a simple cut of meat into a tender, flavorful masterpiece. Whether it’s a weekend gathering or a casual dinner, mastering this method adds a rich, smoky depth to ribs that you just can’t get from a conventional grill or oven. This guide breaks down the process into manageable steps, making it accessible for beginners and those looking to improve their technique.
The key to great smoked ribs lies in patience, temperature control, and understanding the meat. With the right tools and a bit of practice, anyone can produce ribs that are juicy, fall-off-the-bone tender, and packed with smoky flavor. This how-to will walk through everything from preparation to the final smoke, ensuring a satisfying result every time.
Affiliate disclosure: This article contains affiliate links. If you make a purchase through one of these links, I may earn a commission at no additional cost to you. As an Amazon Associate, I earn from qualifying purchases.
Quick Facts
- Difficulty: Moderate – requires attention to temperature and timing but suitable for beginners.
- Time: 5 to 7 hours total, including prep and smoking.
- Cost: Low to moderate, depending on meat quality and fuel choice.
- Best For: Weekend cookouts, family dinners, and impressing friends with backyard BBQ skills.
Project Overview
Smoking ribs is a low-and-slow cooking process that uses indirect heat and wood smoke to infuse flavor and tenderize the meat. The finished ribs should have a deep smoky aroma, a caramelized outer bark, and meat that pulls away easily from the bone without falling apart completely. This cooking style emphasizes flavor complexity and texture, making it a favorite among BBQ enthusiasts.
This project is useful because it teaches how to control a smoker or grill to achieve consistent results, a valuable skill for anyone who enjoys outdoor cooking. Beyond ribs, these techniques translate well to other smoked meats, broadening your backyard cooking repertoire and impressing guests with your pitmaster prowess.
Tools Needed
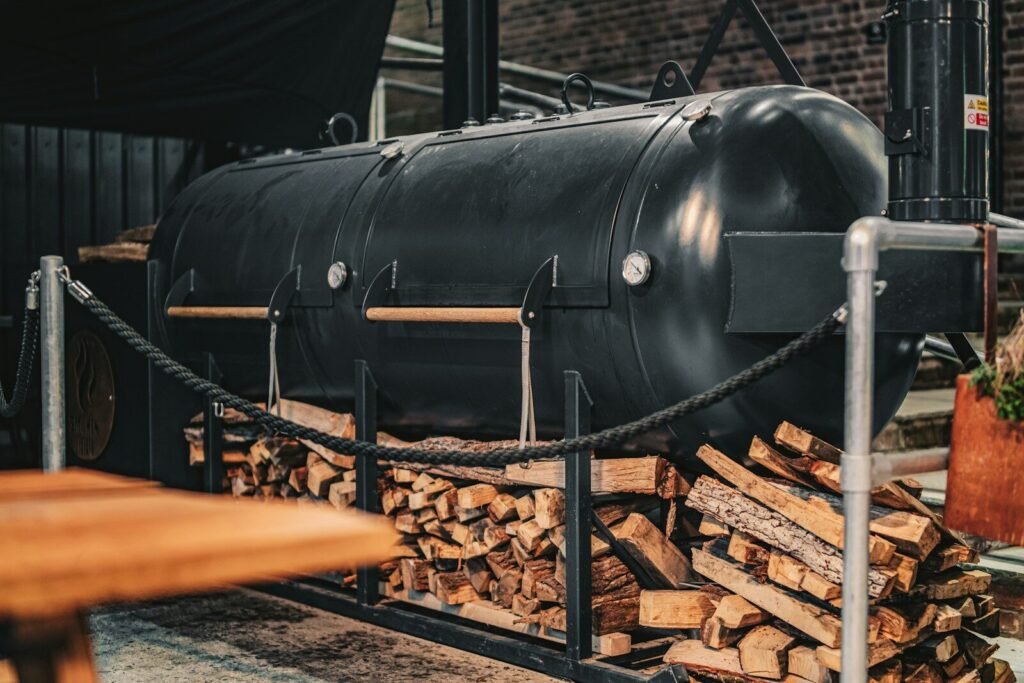
- Charcoal or Pellet Smoker: The primary cooking device, essential for maintaining steady low heat and producing smoke.
- Digital Meat Thermometer: Ensures the ribs reach the perfect internal temperature without guesswork.
- Tongs and Gloves: For safe handling of hot ribs and equipment during preparation and smoking.
- Spray Bottle: Used to keep ribs moist during smoking by misting them with liquid.
- Aluminum Foil: For wrapping ribs during the cooking process to help retain moisture.
- Knife and Cutting Board: For trimming ribs before seasoning and slicing after cooking.
Check out 23pcs Must-Have BBQ Grill Accessories Set
Materials Needed
- Pork Ribs (Baby Back or St. Louis Style): The star ingredient, chosen based on preference for meatiness and size.
- Dry Rub: A blend of spices such as paprika, brown sugar, salt, pepper, and garlic powder to season the ribs.
- Wood Chips or Chunks: Hickory, apple, or cherry wood is a popular choice for adding smoky flavor.
- Apple Juice or Vinegar: Used for spritzing ribs to keep them moist and add a subtle tang during smoking.
- Mustard (Optional): Acts as a binder for the dry rub, helping spices adhere better to the ribs.
Before You Begin
Preparation is crucial for smooth execution. Start by selecting quality ribs from your butcher or grocery store, checking for freshness and minimal silver skin. Set up your smoker in a well-ventilated outdoor space with a stable surface to avoid accidents. Have all tools and materials within reach to streamline the process.
Plan your time carefully—smoking ribs is not a quick cook and requires steady attention to temperature over several hours. Familiarize yourself with your smoker’s operation and how to regulate airflow and temperature. Safety is paramount: use heat-resistant gloves, avoid flare-ups by managing fuel properly, and keep a fire extinguisher nearby just in case.
How to Complete the Project
Step 1: Prepare the Ribs
Start by removing the membrane from the back of the ribs. This thin layer can block smoke and seasoning penetration. Use a butter knife to loosen the membrane and grip it with a paper towel to pull it off cleanly. This step ensures better flavor absorption and tenderness.
Step 2: Apply the Rub
If using mustard, lightly coat the ribs to help the dry rub stick. Generously apply your dry rub all over the ribs, pressing it into the meat. Don’t skimp on seasoning—this layer builds the flavorful crust known as bark. Let the ribs rest for 30 minutes to absorb the rub.
Step 3: Preheat the Smoker
Heat your smoker to a steady 225°F (107°C). This temperature is ideal for slow smoking ribs without drying them out. Add your chosen wood chips or chunks to the smoker to generate smoke. Avoid overpowering the ribs with too much smoke; a thin, steady smoke is best.
Western BBQ Smoking Wood Chips Variety Pack
Step 4: Place Ribs on the Smoker
Arrange the ribs, bone-side down, on the smoker grate, leaving space between racks for airflow. Close the lid and maintain a consistent temperature around 225°F. Resist the urge to open the smoker frequently, as it causes heat loss and prolongs cooking time.
Step 5: Smoke and Spritz
After about 1.5 to 2 hours, begin spritzing the ribs with apple juice or vinegar every 30 minutes. This keeps the surface moist and enhances flavor. Continue smoking for a total of 3 hours at this low temperature to develop a smoke ring and bark.
Step 6: Wrap the Ribs
After 3 hours, wrap the ribs tightly in aluminum foil with a splash of apple juice inside to create steam. This step, often called the “Texas Crutch,” helps tenderize the meat further by trapping moisture and heat. Return the wrapped ribs to the smoker.
Step 7: Continue Cooking
Smoke the wrapped ribs for another 2 hours, keeping the temperature steady. This slow cooking breaks down connective tissue, making the ribs tender but still holding together nicely.
Step 8: Unwrap and Finish
Carefully remove the ribs from the foil and place them back on the smoker grates. Smoke for an additional 30 minutes to firm up the bark and set the crust. This final step enhances texture and flavor balance.
Step 9: Check for Doneness
Use a meat thermometer to check the internal temperature; ribs are done around 195°F to 203°F (90°C to 95°C). Alternatively, check for tenderness by gently lifting the ribs from the center—meat should bend easily and start to crack on the surface.
Step 10: Rest and Serve
Let the ribs rest for 10 to 15 minutes after removing them from the smoker. Resting allows juices to redistribute, making the meat juicier and easier to slice. Cut between the bones and serve immediately.
Common Mistakes to Avoid
- Leaving the membrane on the ribs, which prevents smoke and seasoning from penetrating.
- Opening the smoker lid too often, causing temperature fluctuations and longer cook times.
- Using too much wood smoke, resulting in a bitter, overpowering flavor.
- Skipping the wrap step, which can lead to dry, tough ribs.
- Cooking at too high a temperature, which cooks ribs quickly but sacrifices tenderness.
- Not allowing the ribs to rest causes juices to run out, leaving the meat dry.
Final Thoughts
Smoking ribs is a satisfying project that brings authentic BBQ flavor to your backyard. By following these straightforward steps, anyone can achieve tender, smoky ribs with a delicious bark. It’s a process that rewards patience and attention to detail, and the results are well worth the effort.
With practice, this method becomes second nature, allowing for customization of rubs, wood types, and cooking times to suit personal taste. Whether for a family meal or a social gathering, smoking ribs like a backyard pitmaster is a skill that elevates your cooking and impresses your guests. Get started today and enjoy the rich, smoky satisfaction of homemade smoked ribs.
Frequently Asked Questions
What type of ribs is best for smoking?
Baby back ribs and St. Louis style ribs are both excellent choices; baby backs are leaner and cook faster, while St. Louis ribs are meatier and require slightly longer cook times.
How important is temperature control?
Maintaining a steady temperature around 225°F is crucial for tender ribs; fluctuations can cause uneven cooking and dry meat.
Can I use an electric or gas grill for smoking ribs?
Yes, with the addition of a smoker box and wood chips, electric or gas grills can be adapted for smoking, though results may vary.
How do I know when ribs are done without a thermometer?
Look for the meat pulling back from the bones, a bend test where the ribs crack slightly when lifted, and a tender but not mushy texture.